
Introduction
Traveling to the United States is a dream for many Indians, whether for tourism, business, education, or work. However, getting a U.S. visa can seem like a complex process.
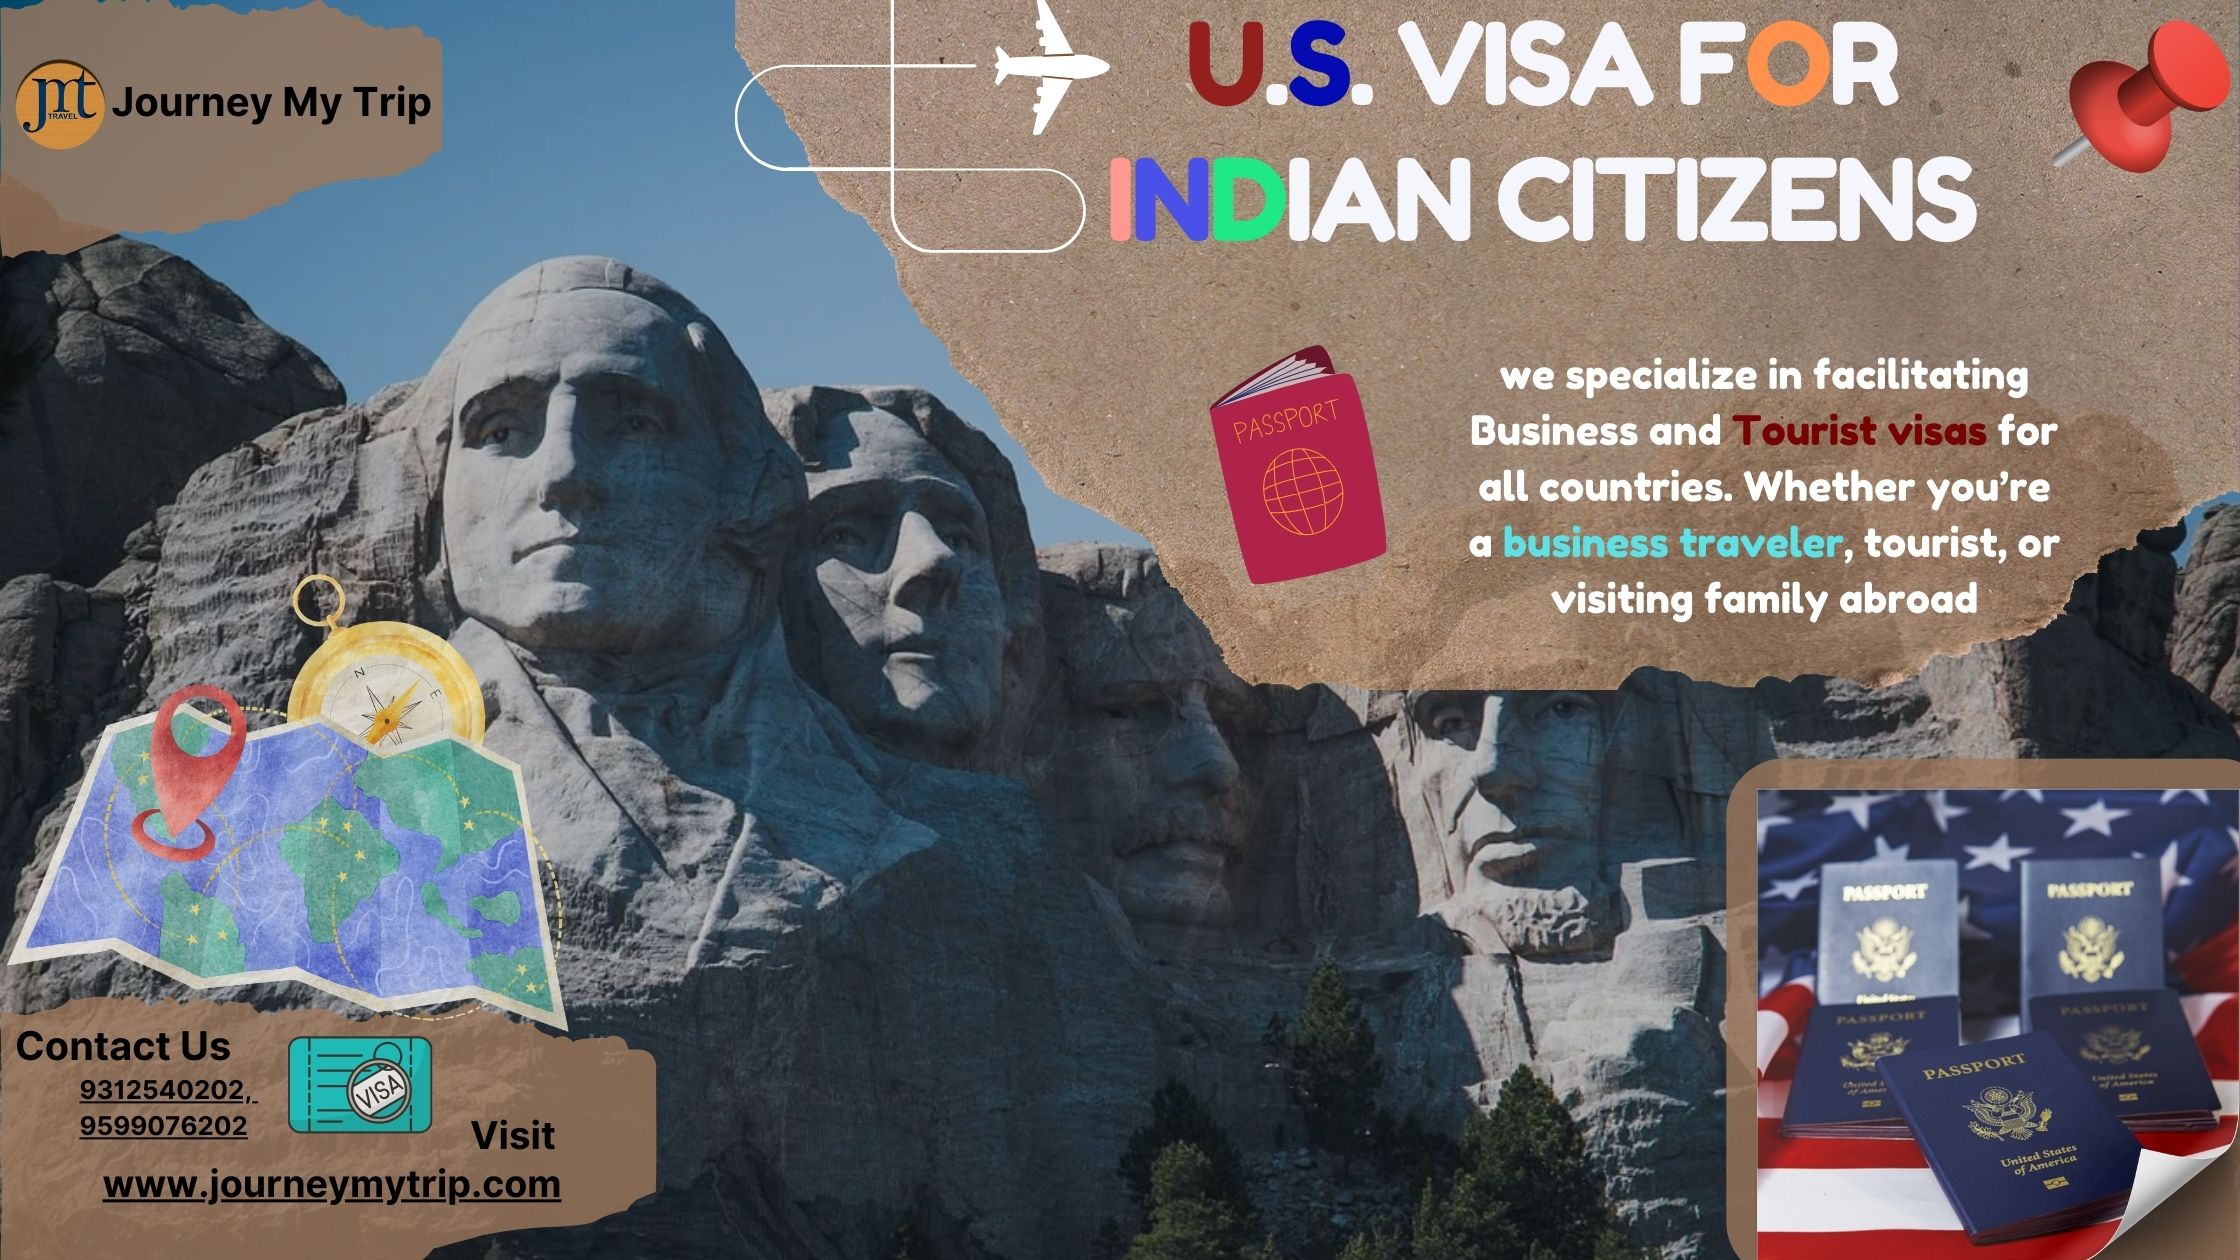
Journey my trip has been a trusted name in the travel industry for over 11 years. As a leading provider of visa services, we specialize in facilitating Business and Tourist visas for all countries. Whether you’re a business traveler, tourist, or visiting family abroad, we are here to assist with your visa requirements. Our extensive experience ensures a seamless process from start to finish, giving you peace of mind while preparing for your international journey.
This step-by-step guide is designed to simplify the U.S. visa application process for Indian citizens, making it easier for you to navigate the requirements, complete the necessary forms, and prepare for your visa interview. Whether you’re applying for a tourist visa, student visa, or work visa, this guide will walk you through each step to help you confidently apply for your U.S. Visa for Indian.
Table of Contents
- Step 1: Determine the Visa Type You Need
- Step 2: Complete Form DS-160
- Step 3: Pay the Visa Application Fee
- Step 4: Schedule Your Appointments
- Step 5: Attend the Biometric Appointment
- Step 6: Prepare for and Attend the Visa Interview
- Step 7: Visa Processing and Collection
Step 1: Determine the Visa Type You Need
The first step in applying for a U.S. visa is determining which visa type is right for your trip. The United States offers various visa categories depending on the purpose of your visit. Here are some common types:
- B-1/B-2 Tourist/Business Visa: For short-term visits to the U.S. for tourism, business meetings, or medical treatment.
- F-1 Student Visa: For individuals planning to study at a U.S. institution or university.
- H-1B Work Visa: For professionals working in specialized fields, including IT, engineering, and healthcare.
- L-1 Intra-Company Transfer Visa: For employees transferring to a U.S.-based branch of their company.
- J-1 Exchange Visitor Visa: For individuals participating in exchange programs like internships, research, or training.
Each visa type has specific requirements and documents, so it’s essential to choose the right one based on your purpose.
Step 2: Complete Form DS-160
Once you know your visa type, the next step is filling out Form DS-160, the online non-immigrant visa application. This form is required for all visa applicants and must be completed before scheduling your visa interview.
- How to Fill DS-160:
- Visit the official Consular Electronic Application Center (CEAC) website to start the DS-160 form.
- Provide detailed personal information, including your passport details, travel plans, and previous U.S. travel history (if any).
- Upload a recent passport-size photo that meets U.S. visa photo requirements.
- After completing the form, you will receive a DS-160 confirmation page with a barcode. This page is required for your visa appointment and interview.
Tip: Be sure to double-check all the information entered on the DS-160, as any errors could cause delays in your visa application process.
Step 3: Pay the Visa Application Fee
After submitting the DS-160 form, you need to pay the non-refundable visa application fee. The fee amount varies depending on the type of visa you’re applying for.
- Common Visa Fees:
- B-1/B-2 Visa (Tourist/Business): $185
- F-1 Visa (Student): $185
- H-1B Visa (Work): $205
You can pay the visa fee through different methods, including:
- National Electronic Funds Transfer (NEFT)
- Over-the-counter cash payment at designated banks
- Mobile payment options like UPI
After payment, you will receive a receipt with a unique number. Keep this number safe, as you’ll need it to book your visa appointments.
Step 4: Schedule Your Appointments
Once the DS-160 form is complete and the visa fee is paid, the next step is to schedule two appointments:
- Biometric Appointment at a Visa Application Center (VAC)
- Visa Interview at the U.S. Embassy or Consulate
- Log in to the U.S. Travel Docs website to schedule both appointments.
- The biometric appointment is where your fingerprints and photo will be taken. This must be done at a Visa Application Center (VAC).
- The visa interview will take place at one of the U.S. Consulates or the U.S. Embassy in India (New Delhi, Mumbai, Chennai, Kolkata, or Hyderabad).
Choose your appointment dates carefully, as interview slots can fill up quickly during peak travel seasons. Ensure you have all the required documents ready before your interview.
Step 5: Attend the Biometric Appointment
Your first appointment will be at the Visa Application Center (VAC), where your fingerprints and photo will be taken.
- Documents to Bring:
- Your valid passport (must be valid for at least six months beyond your intended stay in the U.S.).
- A printed copy of your DS-160 confirmation page.
- Your appointment confirmation page.
The process at the VAC is generally quick and straightforward. Your fingerprints will be scanned, and a photograph will be taken. No visa decision is made at this appointment.
Step 6: Prepare for and Attend the Visa Interview
The final and most critical step is attending your visa interview at the U.S. Embassy or Consulate. This is where a consular officer will assess whether you qualify for the visa you’re applying for.
- Documents to Bring:
- Your valid passport.
- DS-160 confirmation page.
- Visa fee receipt.
- Appointment confirmation page.
- Supporting documents based on your visa type:
- For B-1/B-2 (Tourist/Business Visa): Proof of ties to India (employment letter, property ownership, family ties), financial statements, and your travel itinerary.
- For F-1 (Student Visa): Form I-20 from your school, proof of financial support, academic transcripts, and standardized test scores.
- For H-1B (Work Visa): Form I-797 (petition approval notice), employer letter, and job description.
During the Interview:
- Be prepared to answer questions about your travel plans, purpose of visit, financial ability, and intent to return to India.
- The officer may ask about your family, work, or school situation to confirm your ties to India.
- For tourist visas, it’s essential to show strong ties to India (employment, family, property) that prove you intend to return after your visit.
Tip: Be honest, clear, and concise in your answers. Confidence and preparation will help you through the interview process.
Step 7: Visa Processing and Collection
After your visa interview, the consular officer will inform you of their decision. In most cases, you will know whether your visa has been approved or not at the end of the interview.
- Administrative Processing: If your application requires further review, you may be placed under administrative processing, which can take additional time. The officer will let you know if this is the case.
- Visa Approval: If your visa is approved, your passport will be kept at the embassy or consulate for visa stamping. You can track the status of your passport using the CEAC website.
Once the visa is issued, you can collect your passport from the Visa Application Center (VAC) or have it delivered to your address (based on the delivery option selected during the scheduling process). Generally, it takes 2-5 business days for the passport to be returned.
Conclusion
Obtaining a U.S. visa as an Indian citizen may seem daunting, but by following this step-by-step guide, the process becomes much more manageable. From choosing the right visa type to attending the interview, preparation is key. Be sure to gather all necessary documents, be clear in your communication, and plan well in advance to avoid delays. With the right approach, your journey to the U.S. can begin smoothly and successfully.
Now, all that’s left is to pack your bags and get ready for your trip to the United States!
This guide provides a clear and concise process for Indian citizens applying for a U.S. visa. Let me know if you’d like to add or expand on any section.